Hello friends! Welcome to the Pretty Pink Posh February 2023 Release Blog Hop!

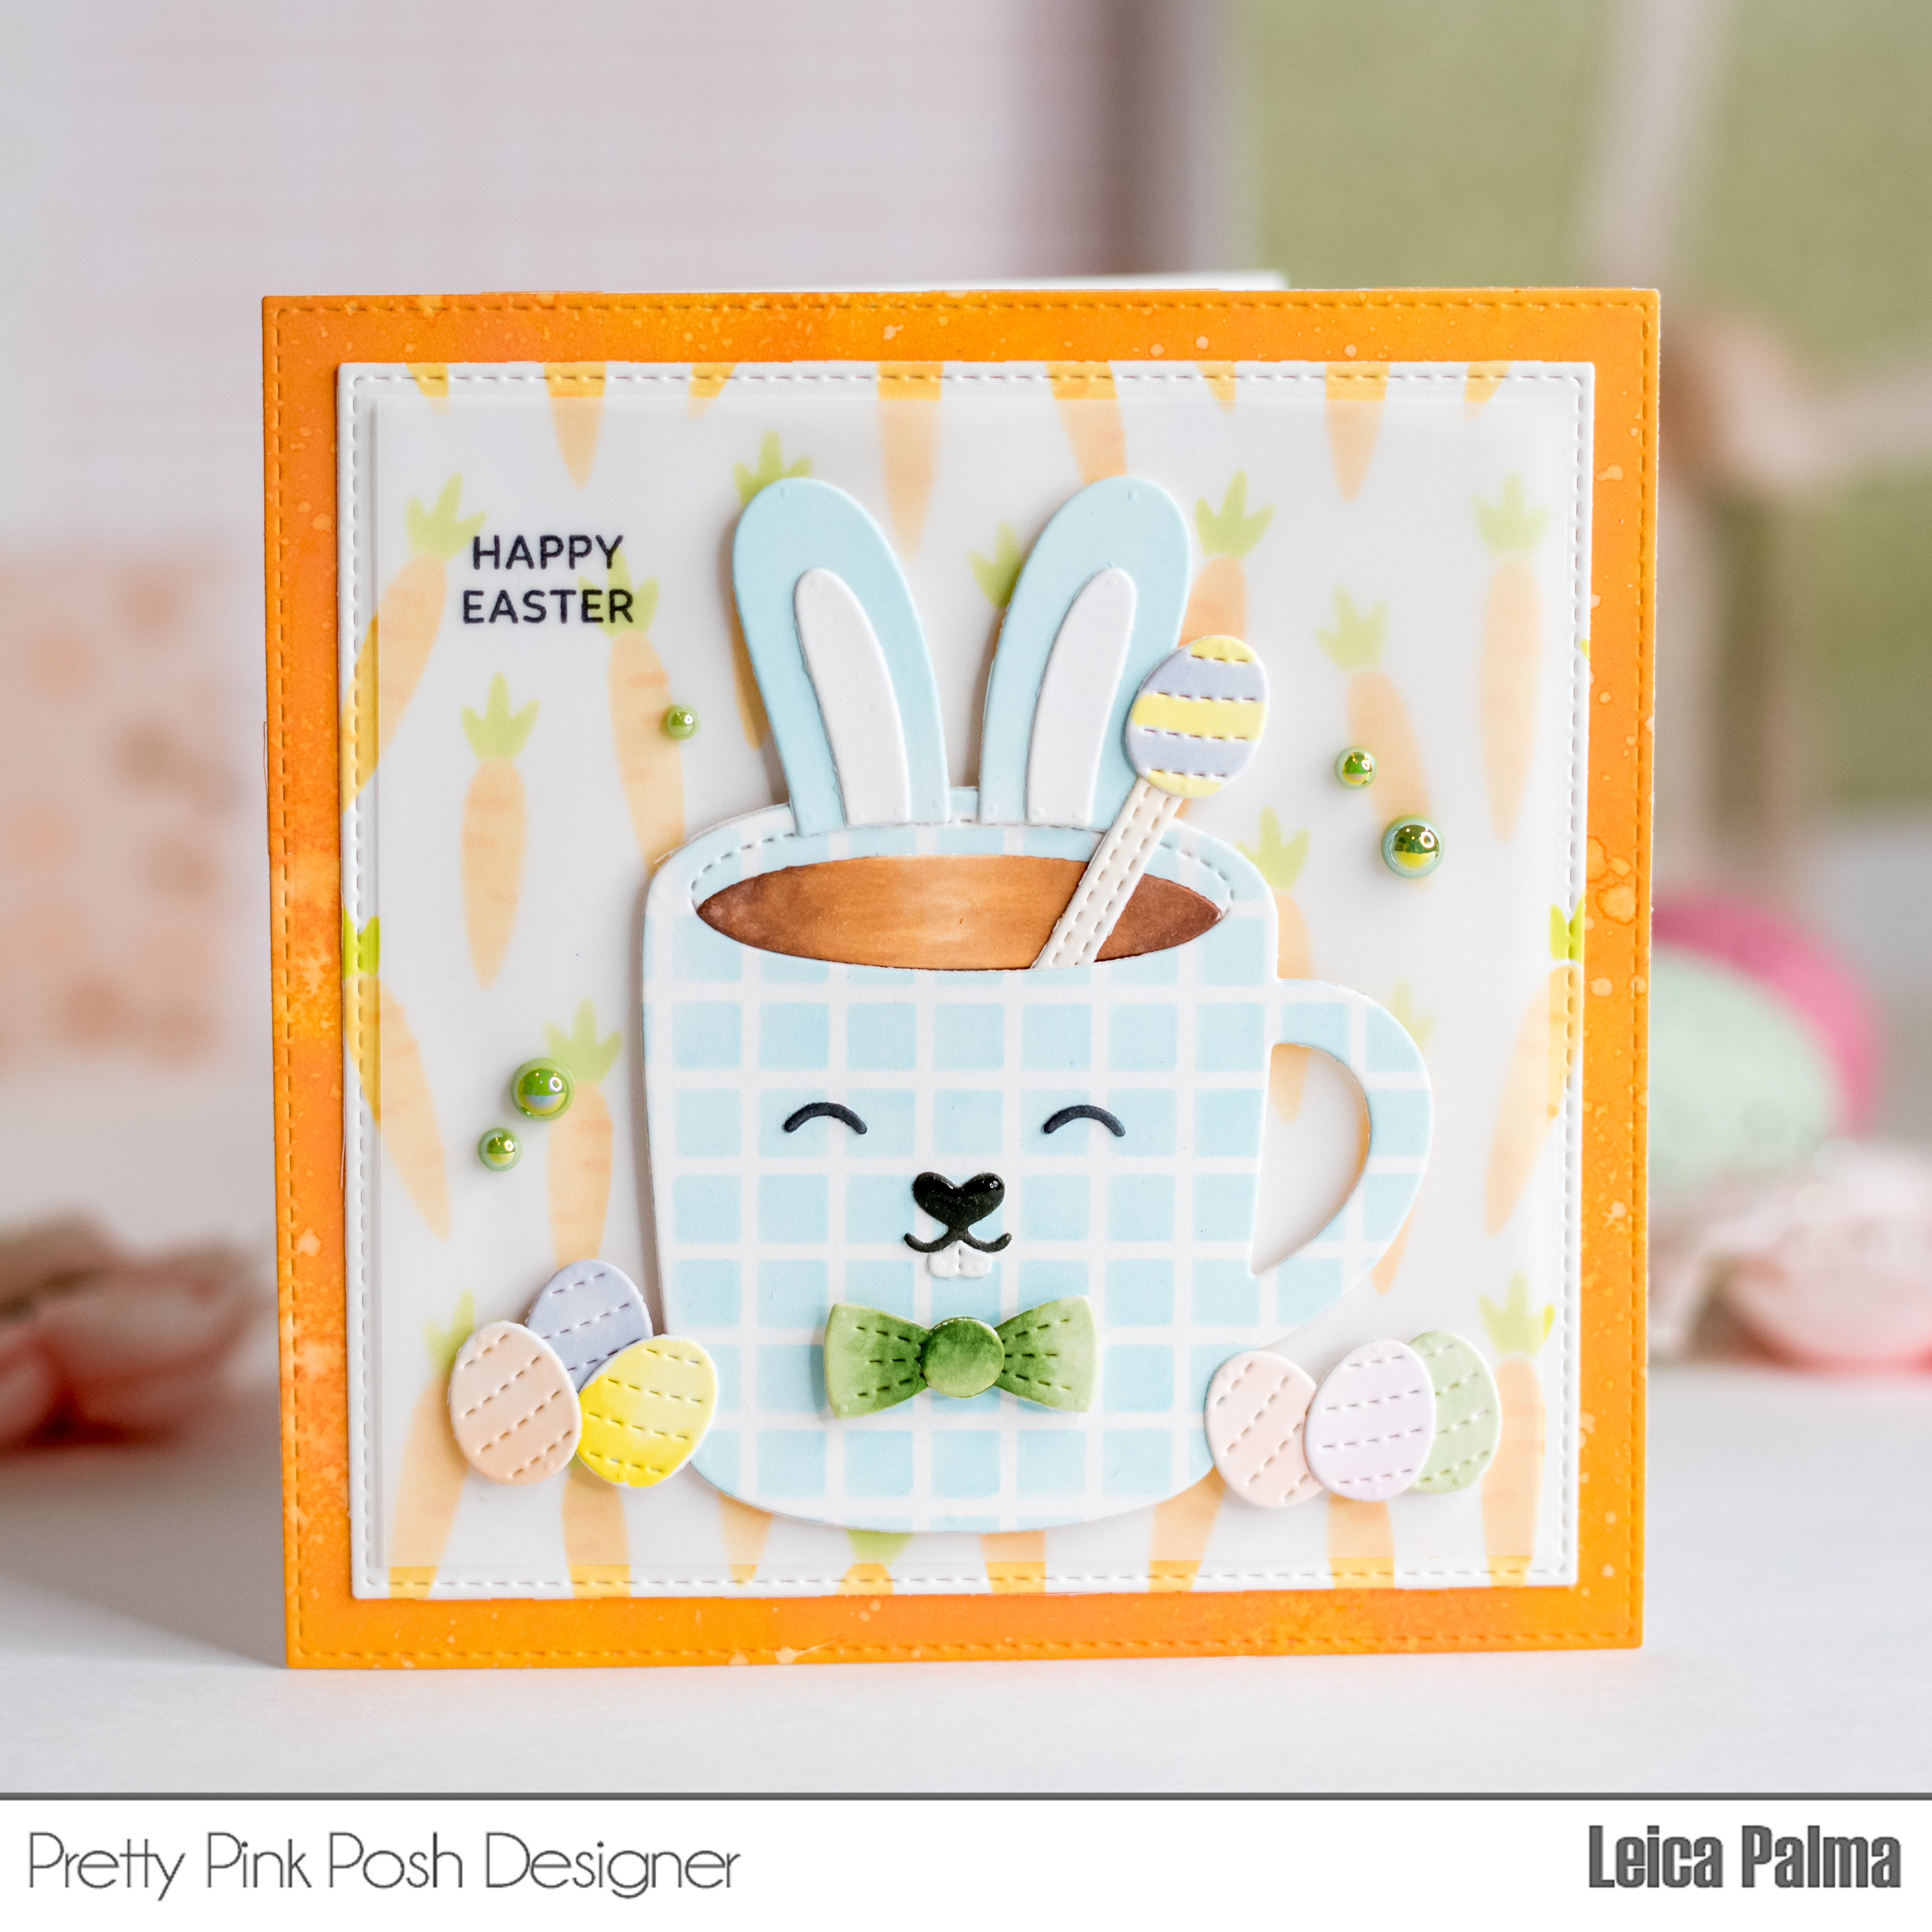
For my card, I started with a 4.5” square white cardstock and I ink blended through the Layered Carrots Stencil with Distress Oxide Inks.
Layer C: Twisted Citron
I then matted this stenciled panel on a 5” square cardstock that I ink blended with Spiced Marmalade. For added interest, I sprayed this larger panel with water that has a bit of white ink.
Next, I cut the dies from the Winter Mug Dies and the new Easter Mug Additions Dies in white cardstock and colored them with Copic markers and Distress Oxide Inks. The blue bunny mug also got a print from the Mini Grid Stencil. Before foam mounting the mug, I placed a sheet of vellum to soften the carrot background and I also stamped the sentiment onto the vellum with Stazon ink.
Here are the Copic markers I used for the mini eggs: BG70, R00, V000, Y11, YG61, YR000

I embellished the card with Pistachio Pearls and adhered the card panel onto a side-fold 5” square white card base.
Make sure to check out the rest of the Hop for more inspiration using the new products from Pretty Pink Posh! There are 6 $25 gift certificates up for grabs (one winner each day). Winners will be picked randomly along the blog hop. Comments must be left by 11:59 PM PST on 03/14/2023. Winners will be announced on the PPP blog.
This bunny mug is ADORABLE! I Love the colors!
ReplyDeletethis is over the top CUTE!
ReplyDeleteYour card is precious, so many great idea on this blog hop!
ReplyDeleteSo adorable!
ReplyDeleteI could not love this anymore than I do! Adorable!
ReplyDeleteGreat card design and use of stenciling, die cutting and ink blending!
ReplyDeleteThat bunny cup is so cute!!!
ReplyDeleteSo cute with the bunny mug and the carrots.
ReplyDeleteAdorable bunny mug!
ReplyDeleteThis is just Super Adorable!! Love the bunny mug!
ReplyDeleteI just love the mug! so sweet.
ReplyDeleteSweet bunny mug, i like the added vellum cover the background.
ReplyDeleteI really like the stenciled background and the ink blending.
ReplyDeleteLove the Springtime colors too!
Thanks for sharing.
So cute!!!
ReplyDeleteOh, goodness, Leica!! Your blue grid mug bunny is SO cute! I also love the carrot-stenciled background. What a smashing combo of colors! I love it!
ReplyDeleteLori S in PA
What a sweet card. Love that bunny mug!
ReplyDeleteWhat an adorable little bunny mug!
ReplyDeleteSuper cute!
ReplyDeleteSuper cute bunny mug! I love the cute ears and the eggs! Adorable card!
ReplyDeleteI'd drink that coffee in that cute mug! So sweet!
ReplyDeleteLeica, this card is wonderful. I like all the layers - the splattered bright base, stenciled carrots, vellum - and the stitching adds such a nice detail in the border and especially the eggs. I envision a cool pretty spring day with a lovely cup of cocoa... yummy. Thank you for sharing.
ReplyDeleteLove those bunny teeth, and the pattern you put on the mug is so cute. Great design.
ReplyDeleteSuper duper cute! Love the March Release!
ReplyDeleteThe soft look is really cute. I love the design peeking out from behind the vellum
ReplyDeleteI just love the soft look from the vellum. awesome
ReplyDeleteMr Bunny is darling. Great card.
ReplyDeletethanks for sharing
Love how the vellum mutes the background but you can still see the pattern.
ReplyDeleteYour mug is so sweet. Love how soft it looks.
ReplyDeleteThis is SO cute!
ReplyDeleteOh, so cute!! I love the pattern on the mug!
ReplyDeleteOh my, oh my, oh my!! Love the sweet stenciling and adorable plaid bunny cup!! Super adorable!!! Love your card and wonderful inspiration!
ReplyDeleteSo cute! Love the checkerboard on the mug!
ReplyDeleteAdorable bunny coffee cup! Thanks for sharing.
ReplyDelete